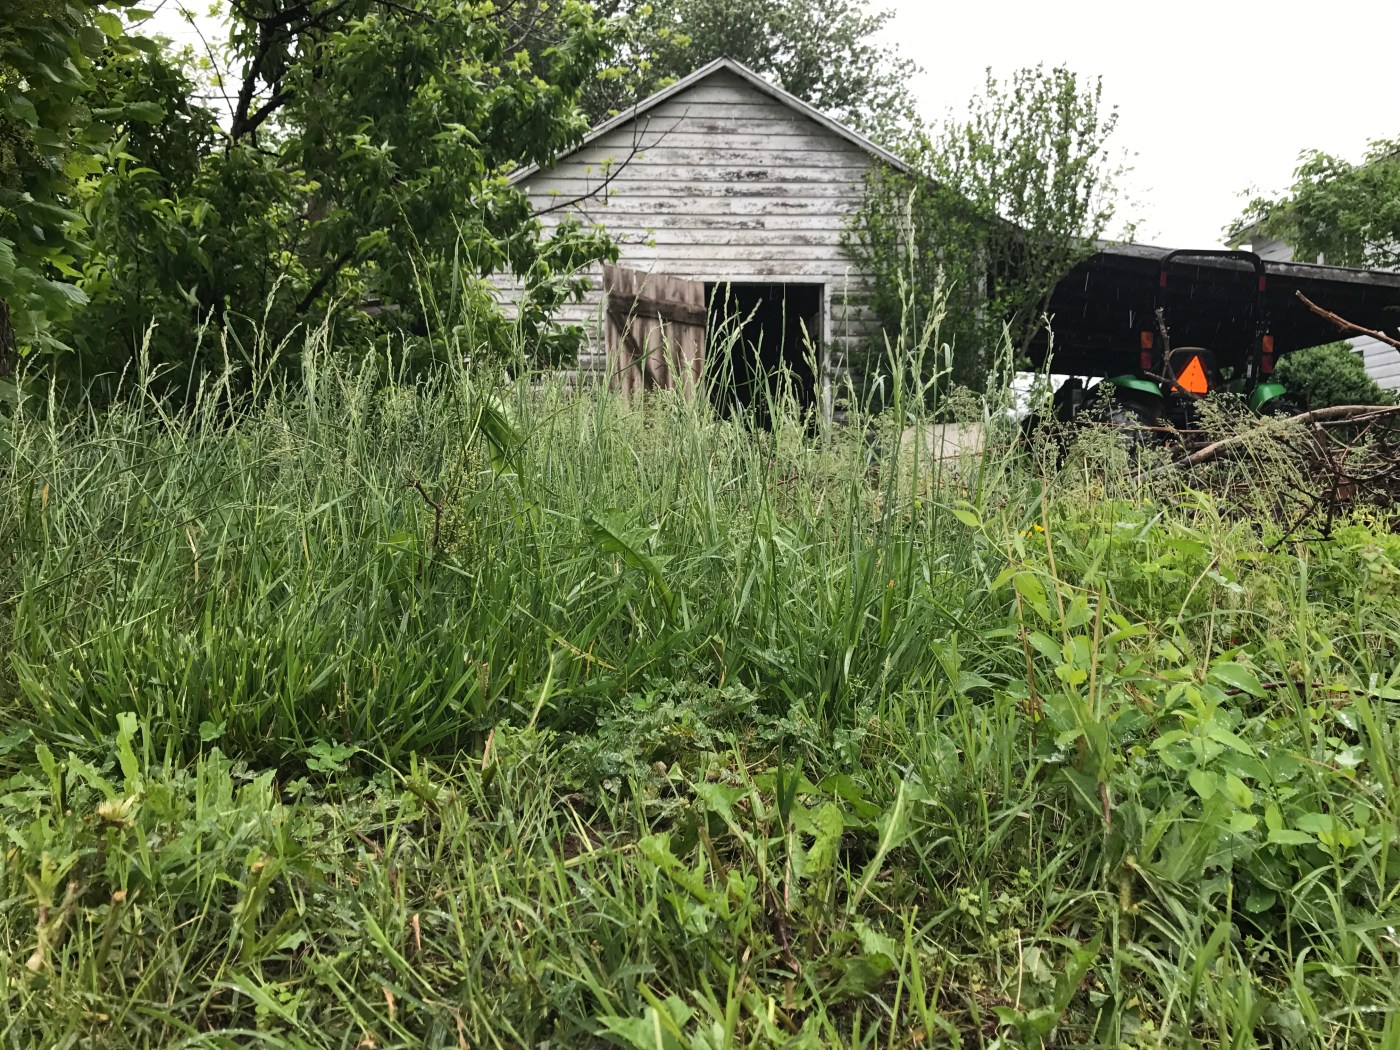
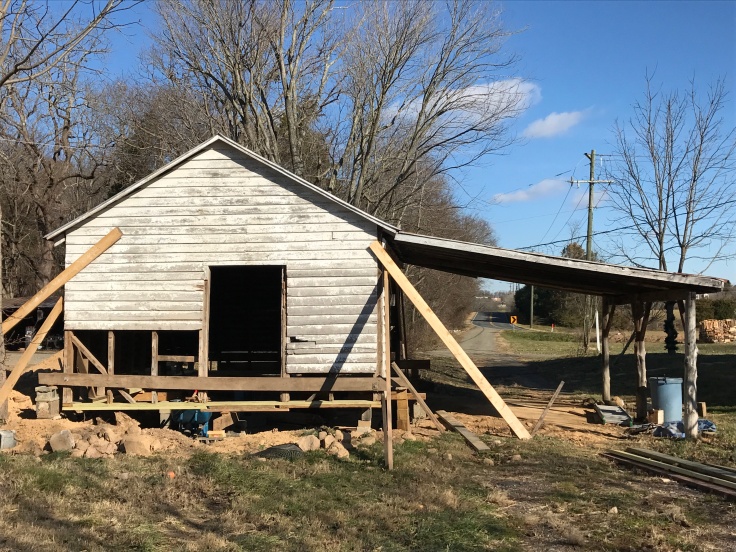
Next to the farmhouse is a carport. If you haven’t spent much time in the South, you may not know about carports. This shelter, typically for the family car, consists of four poles and a roof. I suppose it takes the place of the garage — minus the storage. 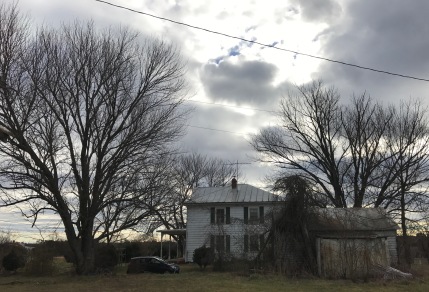
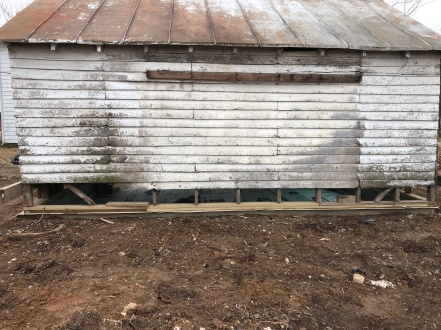
However, on the far side of our carport is a shed that may have once acted as the “garage.” Over the the last few months, the men have started reconstructing this shed in hopes to use it as a garage once again.
Of course, step one was to clean it out. We removed at least five couches, a few sitting chairs, a bed, several hundred jars, and old newspapers.
After cleaning out the shed, step two was to remove any extra parts. The video below shows the preferred method for tearing down buildings and large scale demolition. For those of you who love corrugated tin and rusted metal as accent pieces and decor, rest assured we saved the siding.
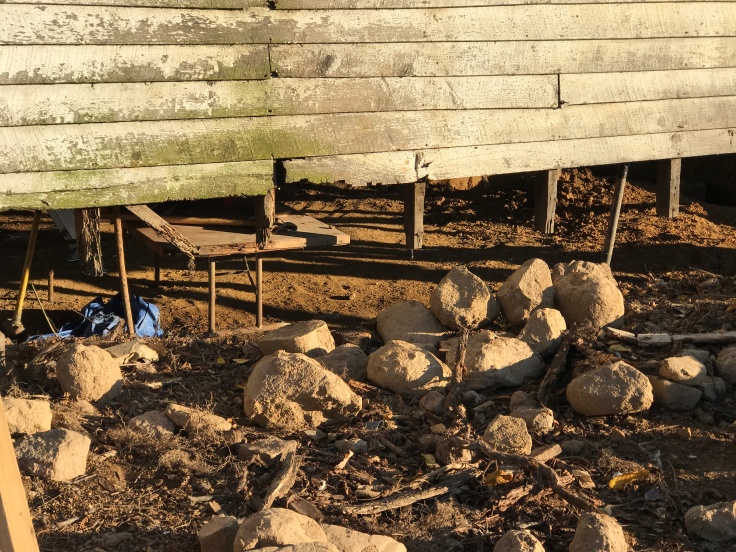
Once the extra parts were eliminated, everyone, including neighborhood friends, began digging out the foundation and prepping the base of the shed. Garbage, dirt and stones needed to be removed to expose a rubble foundation.


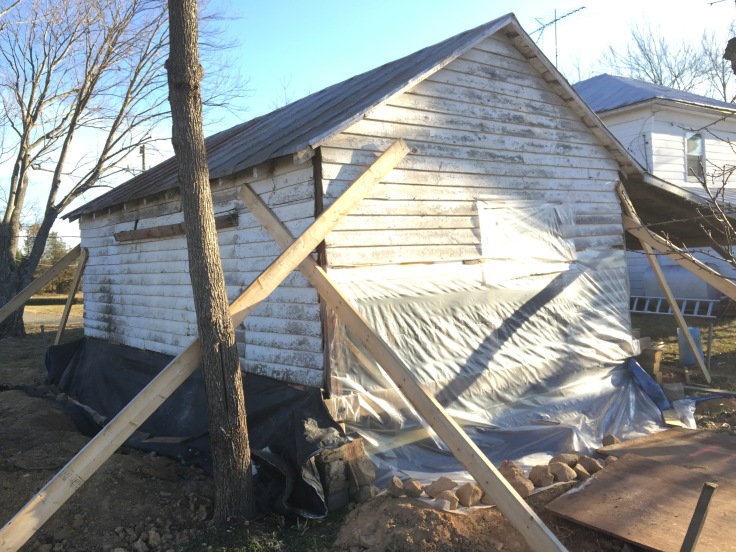
Soon the building was prepped and ready to be jacked up and leveled. The process of lifting up this shed mimicks the same procedure we will use to lay a new foundation for the Big Red Barn.
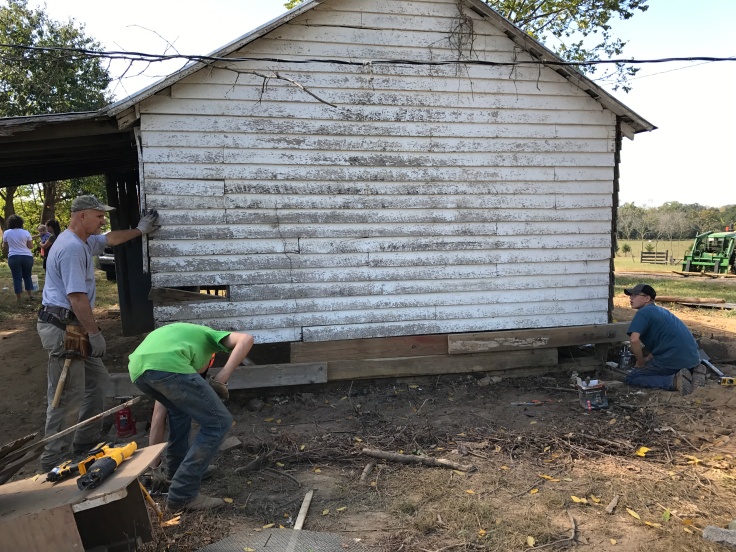
Jacking up the the four corners of the shed…
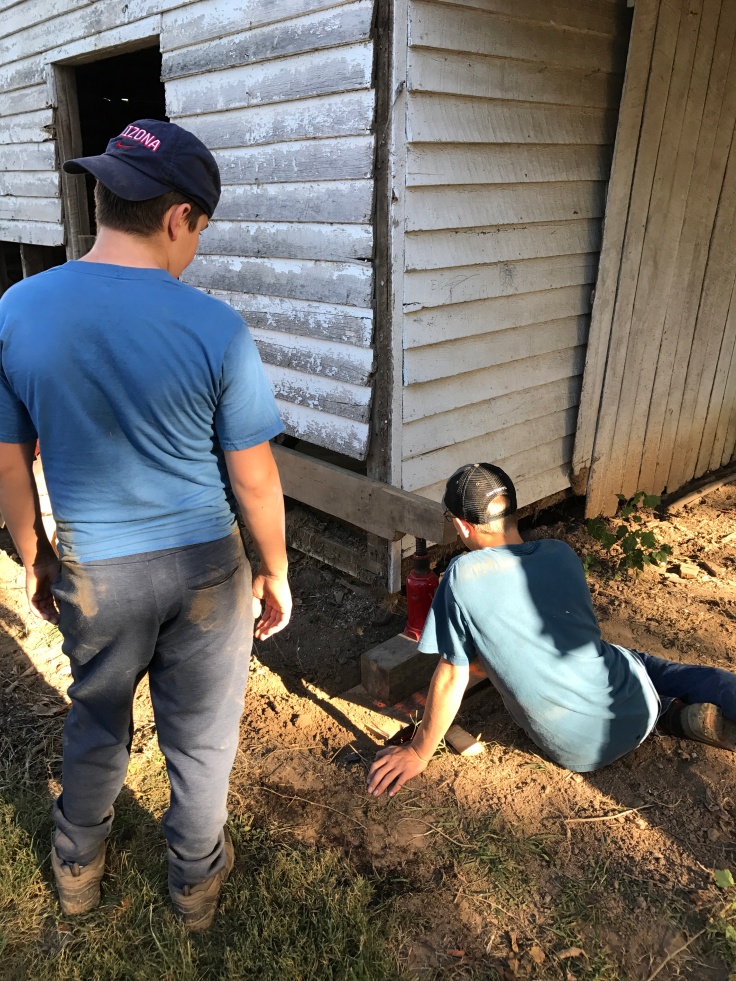
Raising this structure high enough for the footers and concrete masonry units, known to us as cinder blocks, will build the new foundation.
A picture from afar.
After digging the footer, the team used rebar, found around the farm, as structural support and placed it in the footer.
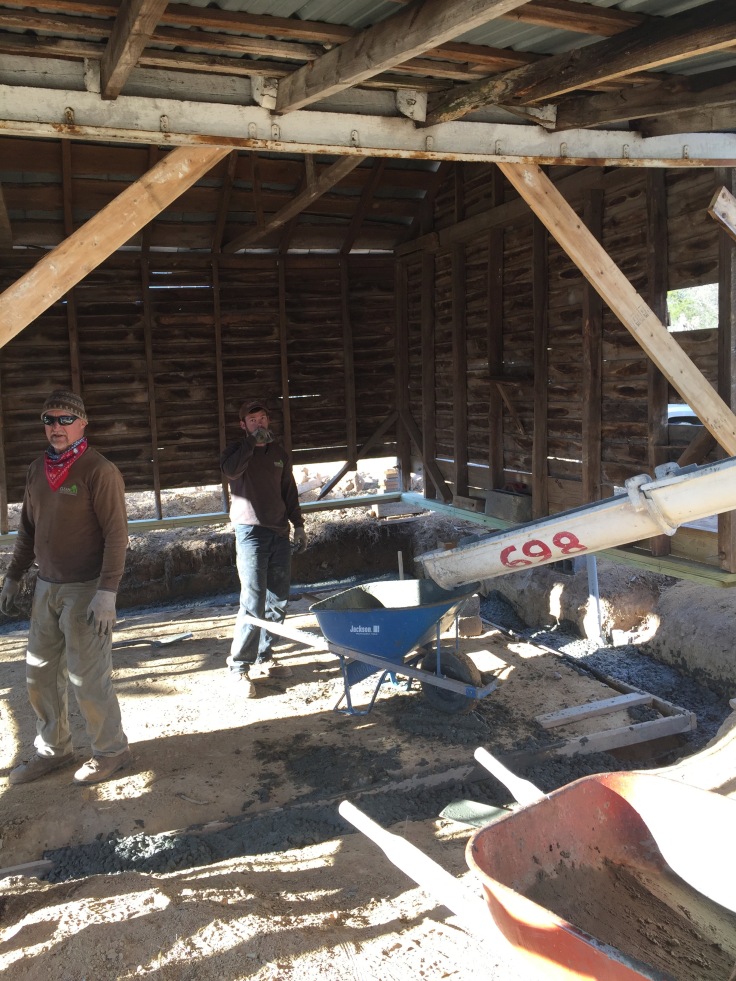
The footer concrete was poured.
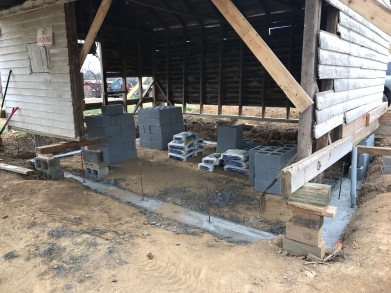
The materials were delivered.
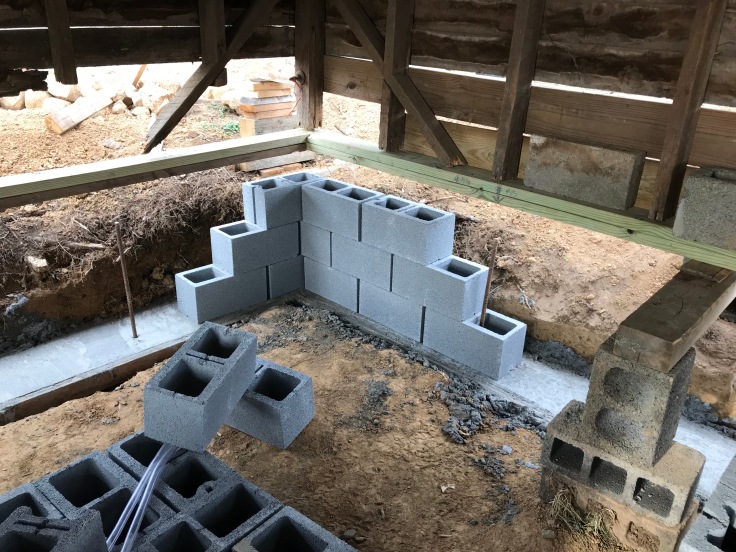
The (CMU’s) were loosely stacked, creating a plan, a real life lego project.


After detailed measuring and leveling, the blocks were finally cemented together.
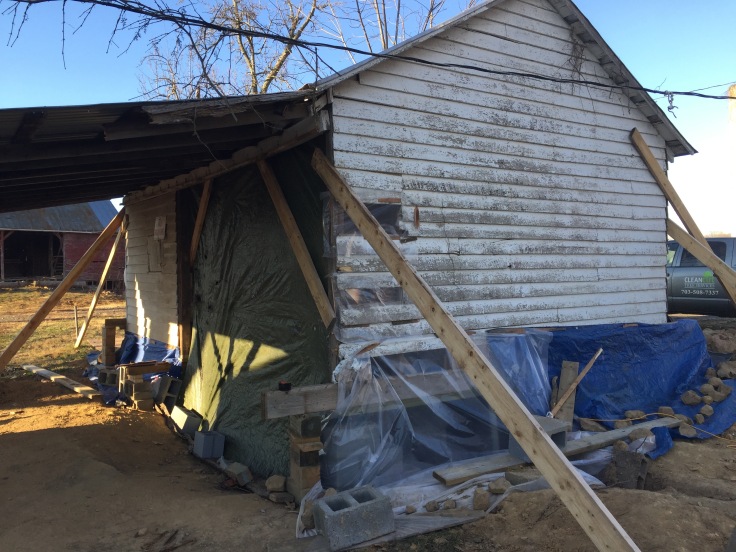
As the temperatures plummeted into the single digits, the guys were not afraid to keep working! But they were afraid that the mortar may not dry. Creatively sealing the building with tarps to hold in the heat allowed the mortar to take its time drying.
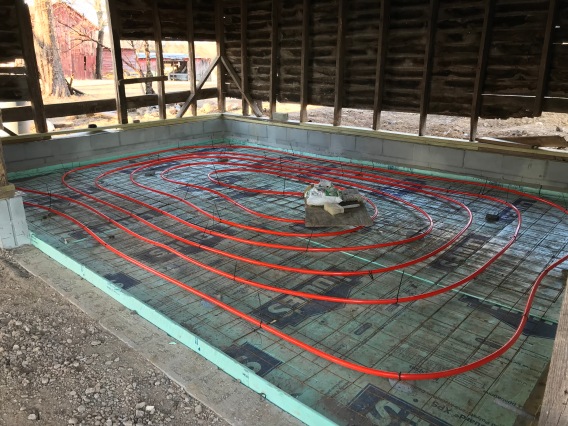
When the mortar was completely dry they were ready to remove the plastic wrap and lower the building!
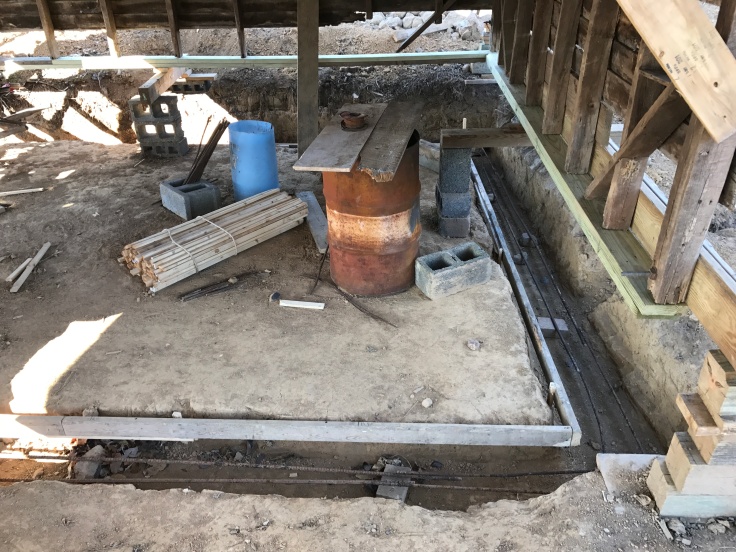
The floor was prepared for PEX tubing, a floor heating system. I suppose the frigid temperatures inspired a future heated work space!
Currently, we are waiting for the cement layer to do his job. This job cost us some money, provided us a lot of learning, and involved invaluable sweat equity. Fortunately, we know people who love to advise and help!
The purpose of this project was two fold:
 One, to practice raising a foundation in order to reinforce and or recreate a sturdier foundation. Due to the crumbling rock foundations, this process will need to be done on many of the buildings, including the large red bank barn.


Two, upon completion, this will be the “work” shed (garage), housing our tools, dirt bikes and other equipment. The dairy barn will be cleaned and prepped for future events.
In hope to keep a rustic natural appearance,
we will repair the wood and replace the stone around the foundation.
♥ Meghan

Just love the updates, the how to’s and why’s. Thank you for taking the time to do this.m I really enjoy it.
LikeLike
Impressive radiant floor heating !! Were there 2 car ports at some time ? How did carport survive “shed” being raised & stay attached ? Looking good ! We can sleep in sleeping bags..we like firm mattress but crank up the heat !! Peace
LikeLike
Great questions! There was only one carport. In order for the garage to raise, we had to detach the carport to prop it up. The three cedar posts to the left, that hold the carport up, will be set back down on stones from Evergreen Bend Farm.
LikeLike